Is your IoT remote desktop connection giving you headaches when it's behind a NAT router? It's often a frustrating experience, but it's a problem that can be solved with the right approach and understanding of network configurations. Many find themselves wrestling with dropped connections, slow response times, or even outright failures when attempting to access their IoT devices remotely.
The world of IoT is expanding rapidly, and with it, the need for reliable remote access solutions becomes ever more critical. Successfully navigating the complexities of network address translation (NAT) is essential for anyone looking to seamlessly manage their IoT infrastructure. Whether you're a hobbyist tinkering with Raspberry Pi projects or a business professional overseeing a fleet of remote sensors, mastering the techniques for establishing stable remote desktop connections is no longer optional—it's a necessity.
| Category | Information |
|---|---|
| Common Issue | IoT remote desktop behind NAT |
| Cause of Failure | Network configuration problems |
| Router Settings | UPnP not enabled |
| Operating System Focus | Mac OS |
| User Struggle | Setting up remote desktop for IoT devices behind a router |
| Device Management | Raspberry Pi |
| Solutions | TightVNC, SocketXP |
| Protocols | SSH, VNC, RDP |
| Service Providers | RemoteIoT, SocketXP Cloud |
| Security Measures | Strong Passwords, Regular Updates |
| Reference | SocketXP Official Website |
One of the first hurdles many users encounter is the seemingly simple task of configuring their router. Often, the Universal Plug and Play (UPnP) setting, which is designed to automatically configure port forwarding, is either disabled or malfunctioning. This can prevent the remote desktop software from establishing a direct connection to the IoT device, forcing traffic to be routed in inefficient ways.
Mac OS users, in particular, frequently report difficulties in setting up remote desktop connections for their IoT devices behind a router. The reasons for these challenges can range from firewall settings to incompatible software versions. This is why detailed, step-by-step guides are invaluable for navigating the nuances of the Mac OS environment and ensuring that all necessary configurations are correctly implemented.
The importance of a functional iot remote desktop behind router example cannot be overstated. In sectors such as manufacturing, agriculture, and logistics, remote access to IoT devices allows for real-time monitoring, predictive maintenance, and immediate intervention in case of emergencies. The ability to remotely reboot a malfunctioning sensor, adjust parameters on a machine, or diagnose an issue without physically being on-site saves time, money, and resources.
As the adoption of IoT technologies continues to surge, understanding how remote desktop solutions operate behind routers becomes essential for both businesses and individual users. The proliferation of connected devices necessitates a robust and secure means of remote management. Whether it's a smart home setup or a large-scale industrial deployment, the ability to remotely access and control IoT devices is paramount.
The frustration of an iot remote desktop behind a router on a mac that refuses to cooperate is a common experience. Countless users have spent hours troubleshooting connectivity issues, poring over technical documentation, and seeking help from online forums. The key to overcoming these challenges lies in a systematic approach, starting with a thorough assessment of the network setup and continuing with a methodical configuration of the remote desktop software.
Establishing secure and efficient remote connections for IoT devices is crucial for unlocking their full potential. Without reliable remote access, the benefits of IoT—real-time data, automation, and enhanced control—are severely limited. This is why it's essential to explore the various methods and tools available for creating secure tunnels and establishing stable connections.
Before diving into more advanced configurations, it's essential to perform a basic check of your network connection and ensure that the router is functioning properly. This includes verifying that the router is connected to the internet, that the network cables are securely plugged in, and that the router's firmware is up to date. A simple reboot of the router can sometimes resolve connectivity issues.
If your iot remote desktop anyway mac isn't working as expected, it's time to delve deeper into the specific configuration settings. This might involve checking firewall rules, verifying the IP address of the IoT device, and ensuring that the remote desktop software is properly configured to listen for incoming connections. The operating system's built-in troubleshooting tools can often provide valuable insights into the root cause of the problem.
There are several comprehensive guides available that provide step-by-step instructions on how to achieve remote access iot over internet on mac free. These guides typically cover topics such as setting up port forwarding, configuring firewall rules, and installing and configuring remote desktop software. They also often include tips and tricks for troubleshooting common connectivity issues.
For Android users, there are numerous resources available that detail how to remote manage iot behind router free android. These guides often focus on using readily available apps and tools to establish secure connections to IoT devices. They also emphasize the importance of implementing strong security measures to protect against unauthorized access.
Those seeking solutions for Raspberry Pi devices can discover the best remote iot behind router raspberry pi free solutions. Raspberry Pi devices are commonly used in IoT projects, and there are numerous open-source tools and techniques available for enabling remote access. These solutions often involve using SSH, VNC, or RDP protocols.
TightVNC is a popular open-source VNC software that can be installed on IoT devices for remote desktop access. It provides a graphical interface that allows users to remotely control the device's desktop, making it ideal for tasks such as software installation, configuration changes, and troubleshooting.
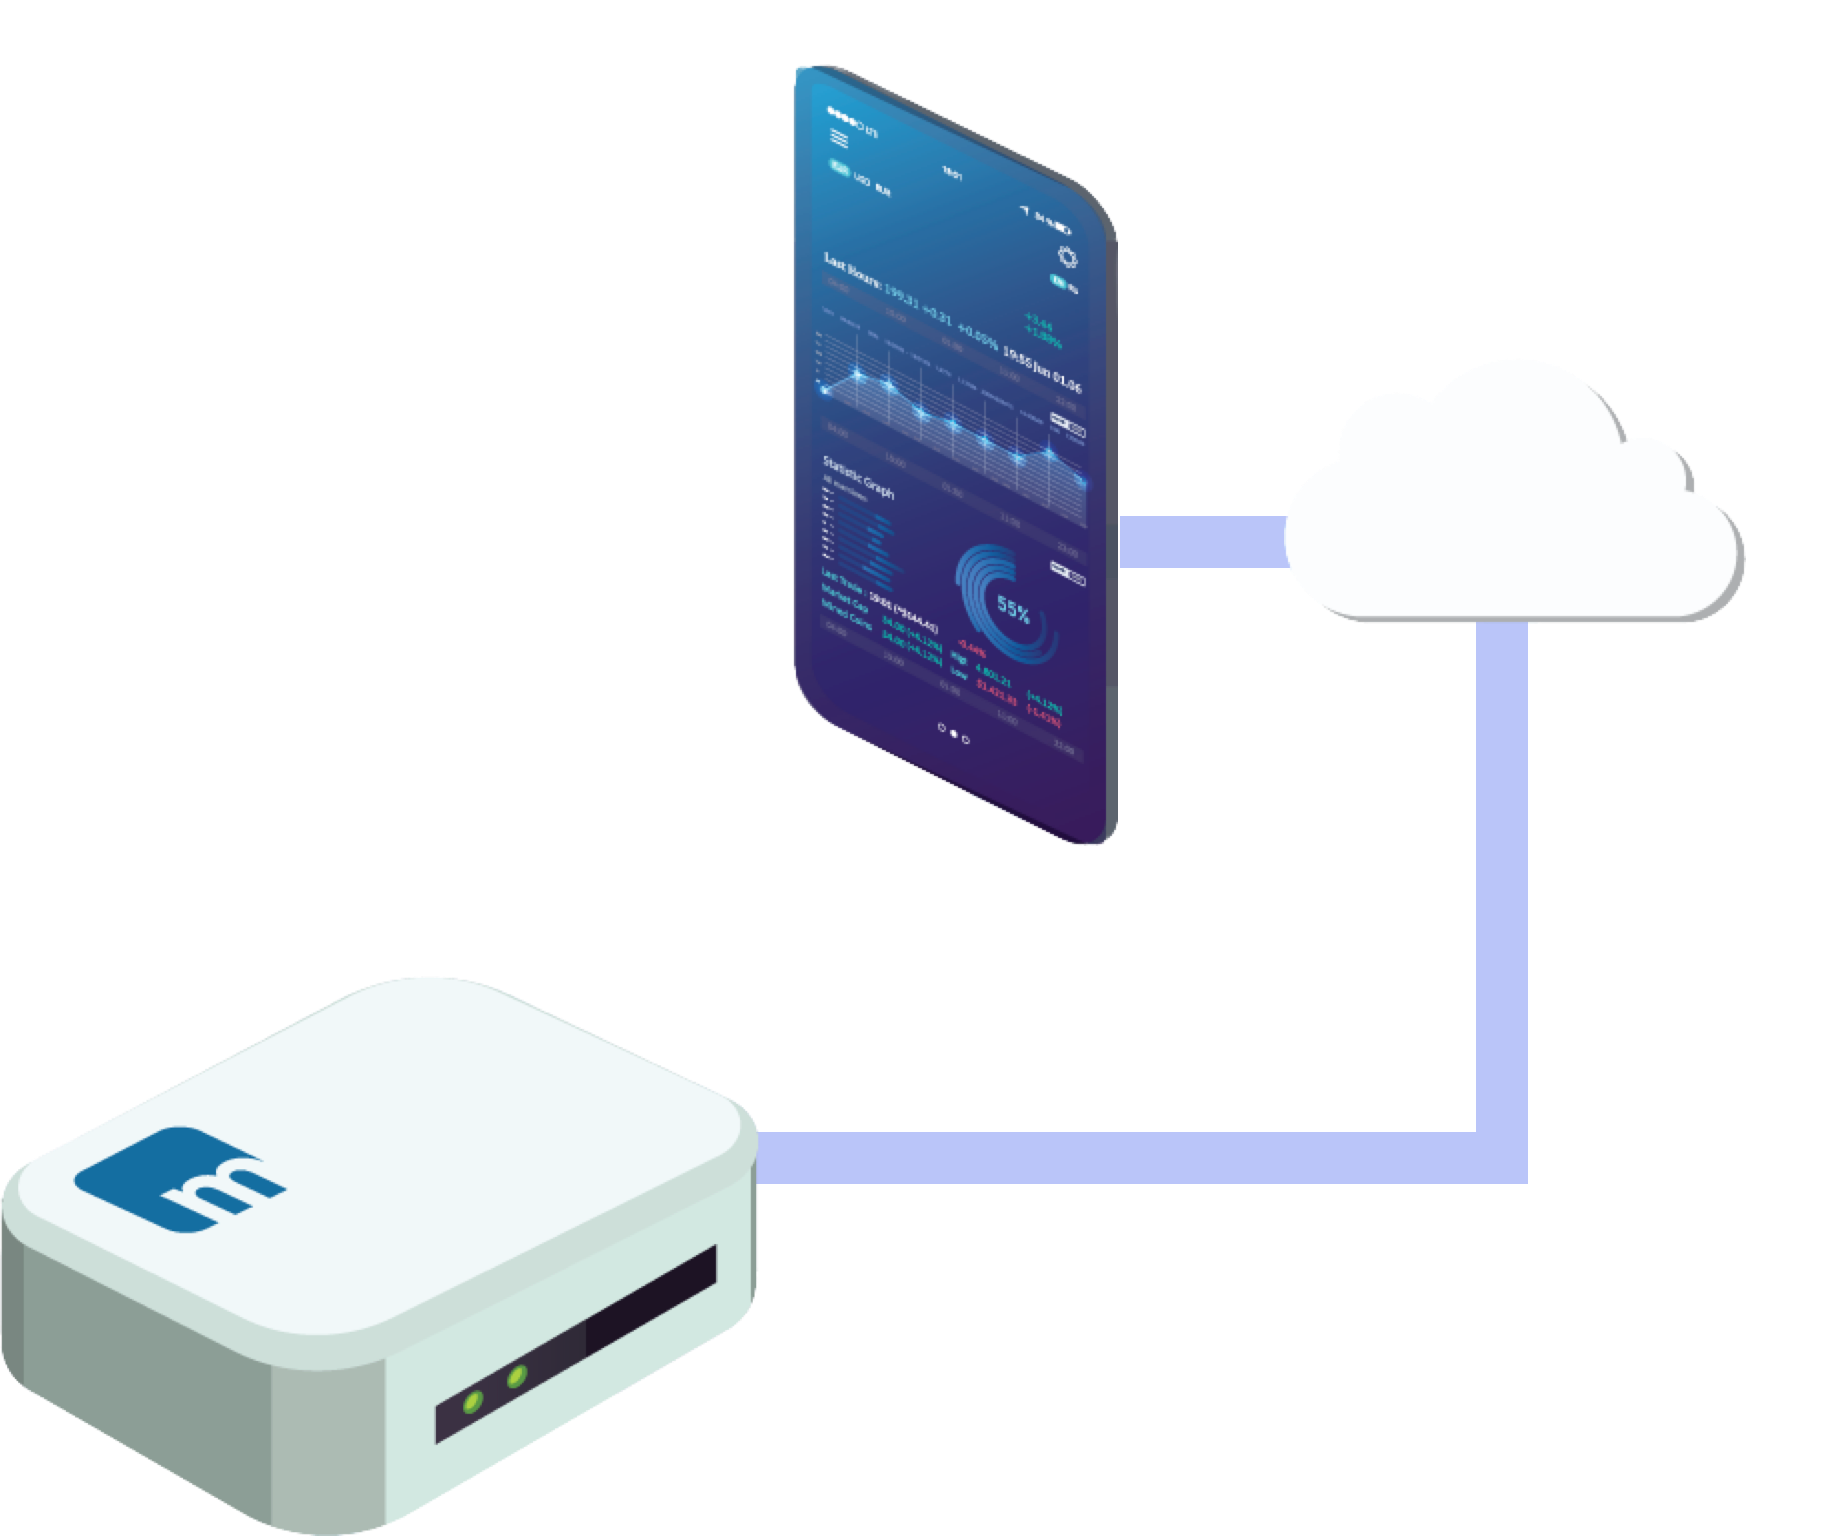
Because iot devices installed behind a nat router and firewall cannot be access from the internet directly, alternative solutions are needed. One such solution is socketxp’s iot remote access, which allows remotely connecting to the iot gui desktop using vnc over the internet. This approach leverages cloud-based services to create a secure tunnel between the remote user and the IoT device.
Once the remote connection is established, you can send command and batch job to the IoT device. This allows you to automate tasks, deploy updates, and perform other administrative functions remotely. The ability to send commands and batch jobs is particularly useful for managing large deployments of IoT devices.
This information will guide you through everything you need to know about remote managing iot devices behind a router using raspberry pi. Raspberry Pi is a versatile platform for IoT projects, and with the right configuration, it can be easily managed remotely.
To establish a connection, open an rdp client on your laptop or pc and enter the public url in the address bar. The RDP client will then attempt to connect to the Raspberry Pi's RDP server.
Since the raspberry pi acts as an rdp server, we need an rdp client to connect to the raspberry pi. The RDP client provides the interface for interacting with the Raspberry Pi's desktop.
To initiate the connection, open remote desktop connection application on your windows \/ microsoft remote desktop on mac. This application is typically pre-installed on Windows and Mac OS operating systems.
Once the application is open, enter the url:port to connect. The URL and port number will depend on the specific configuration of the RDP server.
This article will provide a complete guide on how to set up remoteiot behind router raspberry pi. RemoteIoT is a cloud-based platform that simplifies the process of remotely managing IoT devices.
Using the remoteiot secure iot cloud platform you can quickly connect to networked raspberry pi from anywhere, even if it's behind a firewall. This eliminates the need for complex port forwarding configurations.
If you are looking to set up the best remote iot solution behind your router using a raspberry pi, there are several options to consider. The best solution will depend on your specific needs and technical expertise.
Once the connection is established, let’s connect via remote desktop tool to the IoT device. This will allow you to interact with the device's desktop as if you were physically present.
It's important to explore methods such as ssh, vnc, and rdp, and discover how to use pinggy.io to create secure tunnels. These methods provide different levels of security and performance, so it's important to choose the one that best suits your needs.
You can also remote ssh into iot devices or raspberry pi behind nat router or use other secure protocols. SSH provides a command-line interface for interacting with the device.
Setting up remoteiot behind a router using a raspberry pi can be a powerful way to manage and monitor your iot devices remotely without incurring additional costs. This approach allows you to leverage the Raspberry Pi's capabilities to create a cost-effective remote management solution.
To establish a secure connection, install an ssh client on the iot device and configure it to connect to aws iot core. AWS IoT Core provides a secure and scalable platform for connecting IoT devices to the cloud.
If the purpose behind your iot remote ssh connection is to access the iot device outside the local network, you can use port forwarding on your router. Port forwarding allows you to redirect traffic from a specific port on the router to a specific port on the IoT device.
These steps will guide you through the process of setting up remote access to your IoT devices. The specific steps will vary depending on the tools and technologies you choose to use.
It requires diligent adherence to the practices of regular security audits and updates to ensure the ongoing security of your IoT devices.
Socketxp is a cloud based iot device management and remote access platform that simplifies the process of remotely managing IoT devices.
Using a platform like SocketXP, one can remotely manage, access and monitor your iot devices, raspberry pi fleet or any linux machines behind nat router and firewall. This provides a centralized interface for managing all of your IoT devices.
The following command $ socketxp connect tcp:\/\/127.0.0.1:1883 connected to socketxp cloud gateway demonstrates how to establish a connection to the SocketXP cloud gateway.
You can also access the tcp service securely using the socketxp agent in iot slave mode. This allows you to securely access TCP services running on the IoT device.
It's also possible to connect iot devices to the mqtt broker in iot slave mode. MQTT is a lightweight messaging protocol commonly used in IoT applications.
Next, setup socketxp agent to run in iot slave mode in all your iot devices (both mqtt subscriber devices and the publisher devices). This allows the devices to communicate with the SocketXP cloud gateway.
Thus, using strong passwords and maintaining your router and iot devices updated with the most recent security updates is crucial for protecting against unauthorized access.
The proxy desktop protocol is an alternative method for accessing an iot device protected by a firewall. This protocol provides a secure way to access the device's desktop without exposing it directly to the internet.
Rdp enables users to connect to a remote desktop via a network. RDP is a widely supported protocol that provides a graphical interface for interacting with the remote desktop.
All these method may help manage and control iot behind NAT routers and firewalls, ensuring seamless and secure remote access to your IoT devices.